Bathroom remodeling is already a project that can be both time and financially-intensive. However, you don’t always have to do complete bathroom remodel. Sometimes all your space needs are one or two changes to freshen up the space and leave you feeling like you’re in a new space.
One of the biggest updates you can make to your bathroom also happens to be one of the easiest and most cost-effective ones; replacing/remodeling your bathroom vanity! As a bonus, it’s a relatively easy DIY (do it yourself) project. So if you can’t afford to go through a bathroom remodel company, you may opt to give it a go yourself first (though of course, we usually recommend going through professional local bathroom remodelers as bathroom remodel projects can often include things like plumbing installation/rerouting, electrical work, or demolition work).
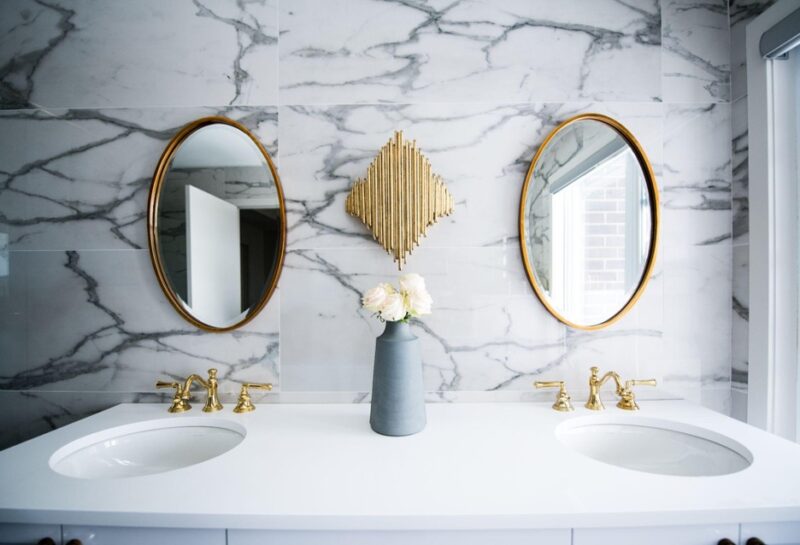
Additionally, the number one way to create a truly unique and memorable space is to opt for custom-made pieces. Not only does this ensure you have a one-of-a-kind piece, but you can also create something that perfectly fits your space no matter what dimensions, angles, or corners you have to work with. A custom-made bathroom vanity can be made to suit small spaces or awkward corners. It can also be used to extend the counter space over the toilet creating an elegant (and functional) fixture. Of course, custom-made pieces will be more expensive than your run-of-the-mill ready-made vanities and sink toppers. In this case, if you’re doing a bathroom remodel on a budget, you may want to know how to install and remove your own vanity, so that you can put your money towards a piece you’ll love and save on installation and demolition costs.
Table of Contents
ToggleRemoving Your Existing Vanity
1. Turn off water
Firstly, you’ll want to disconnect the water supply (usually your sink will have shutoff valves). You may want to go ahead and remove the vanity doors from their hinges for clear access to the plumbing.
2. Disconnect the sink and water lines
Once the water is shut off (trust us – you don’t want to deal with a flooded bathroom remodel), you can go ahead and disconnect the water supply tubes (located between the shut off valves and the fixtures).
3. Remove the drain trap
(also called the p-trap, referring to the looping pipe). You’ll need to loosen the nuts on the outside, either by hand or using pliers.
4. Remove the mirror
This step is optional but keep in mind mirrors are easy to break. If the mirror is easy to remove it’s best to clear it out of the way for now. If it’s glued to the wall you may opt to leave it in place.
5. Cut through the caulking
The first step in actually removing the vanity is to cut through the caulking that surrounds the vanity and is placed between the fixture and the wall. This can be done using a simple utility knife.
6. Remove the fixtures and sink top
Depending on whether you intend to reuse these or not, you can remove the sink topper and fixtures by looking underneath the topper and removing any screws or clamps, then lifting the topper straight up.If it’s glued to the current vanity, you can attempt to pry out the entire thing at once, keeping in mind it may be slightly harder to reuse this way.
7. Remove the vanity
Now that the vanity and it’s fasteners are fully exposed, you can remove all screws, and identify any nails securing it to the floor or wall. If there are nails, you’ll want to use a pry bar, being careful not to damage the wall or valves in the process. Pry the cabinet and back covers away from the wall after removing all screws and loosening all nails.
8. Repair the wall
This step is also optional, as your new vanity may very well be larger or the same size as your old one and cover up the areas of the wall that the old vanity did (and therefore saving you from having to patch any spots and paint over any peeling). However, there won’t be a better time to repair the wall, so you might as well take the opportunity.
Bathroom Remodel: Installing a New Vanity
Luckily installing a new vanity is much like removing one, just in reverse! In short the steps are;
- Locate studs – The only different step from removing one, you’ll want to locate studs in order to avoid screwing/drilling into one and placing the vanity in an unsecured spot.
- Attach the vanity to the back wall
- Fill the gaps with caulk
- Anchor sides to any sidewalls
- Install the sink top
- Connect plumbing and fixtures
- Install any trim or backsplash details
- Caulk the gaps between the wall and the fixture

That’s it, you’re done! Any custom cabinet maker worth their salt will be there every step of the way, including any demolition/installation. However, it’s always good to know how to do this step yourself if you’re looking for a more affordable bathroom remodeling. At Nu Kitchen Designs we pride ourselves on affordable luxury; providing the custom look WITHOUT the custom price. So if you’re looking for the best custom cabinets or vanities, there’s no better place to start.